🌐 This page is not yet translated to English. Showing Portuguese (BR) reference. Help translate this page on GitHub.
Primeiros Passos
Bem-vindo ao RoqueOS! Este guia vai te ajudar a começar em menos de 5 minutos.
Opção 1: Acesso Imediato pela Web
A forma mais rápida de experimentar o RoqueOS é acessar diretamente pelo navegador, sem nenhuma instalação:
Crie uma conta com seu e-mail e você já estará dentro do seu desktop web pessoal.
Opção 2: Instalar como App (PWA)
Para uma experiência mais próxima de um aplicativo nativo, instale o RoqueOS como Progressive Web App (PWA):
- Acesse roqueos.com.br no Chrome, Edge ou Safari.
- Clique no ícone de instalação na barra de endereços (ou no menu do navegador).
- Selecione "Instalar" ou "Adicionar à tela inicial".
Opção 3: Apps Nativos
Baixe o RoqueOS direto nas lojas de aplicativos para a melhor experiência em cada plataforma:
| Plataforma | Link |
|---|---|
| Windows | Microsoft Store |
| iOS / macOS | Apple App Store |
| Android | Google Play |
Conhecendo a Interface
Ao entrar no RoqueOS pela primeira vez, você verá:

Elementos Principais
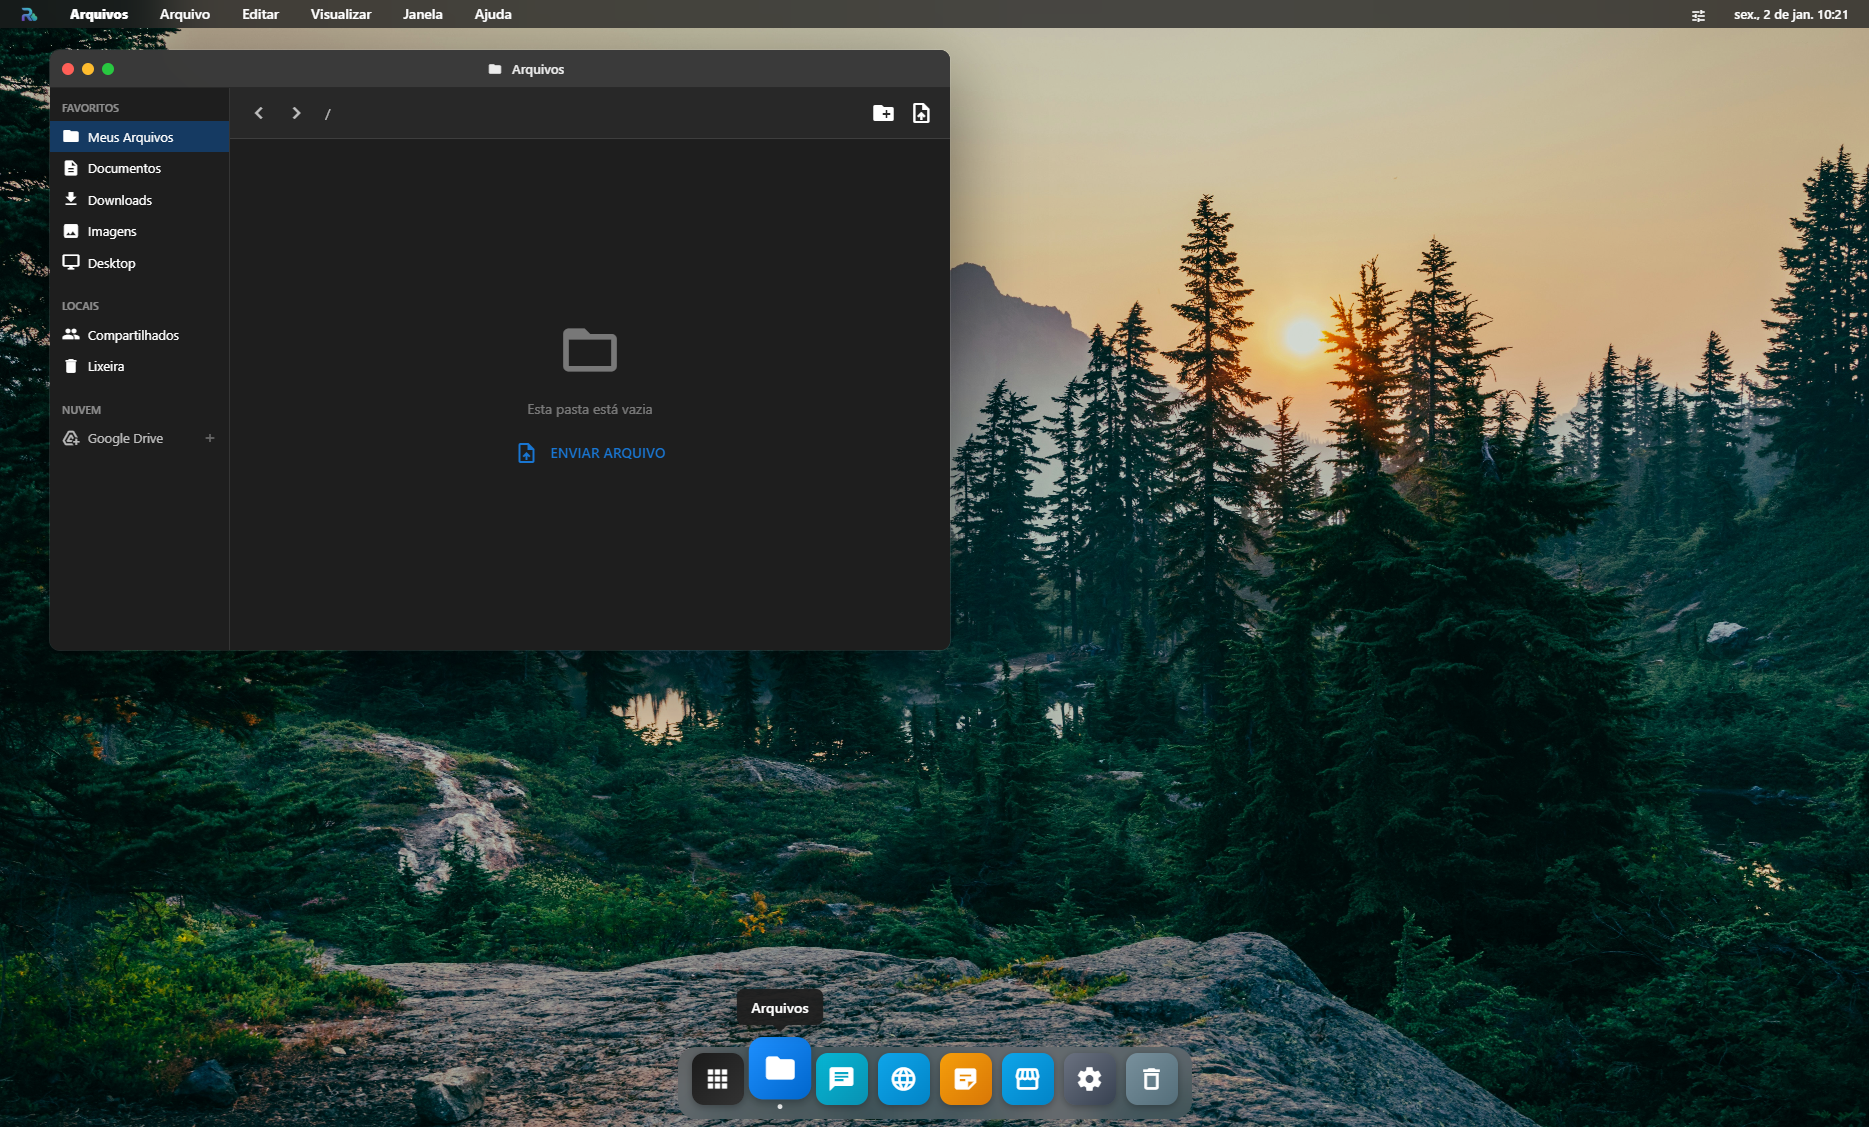
- Desktop — Área de trabalho com atalhos personalizáveis
- Barra de Tarefas — Na parte inferior, com apps abertos e relógio
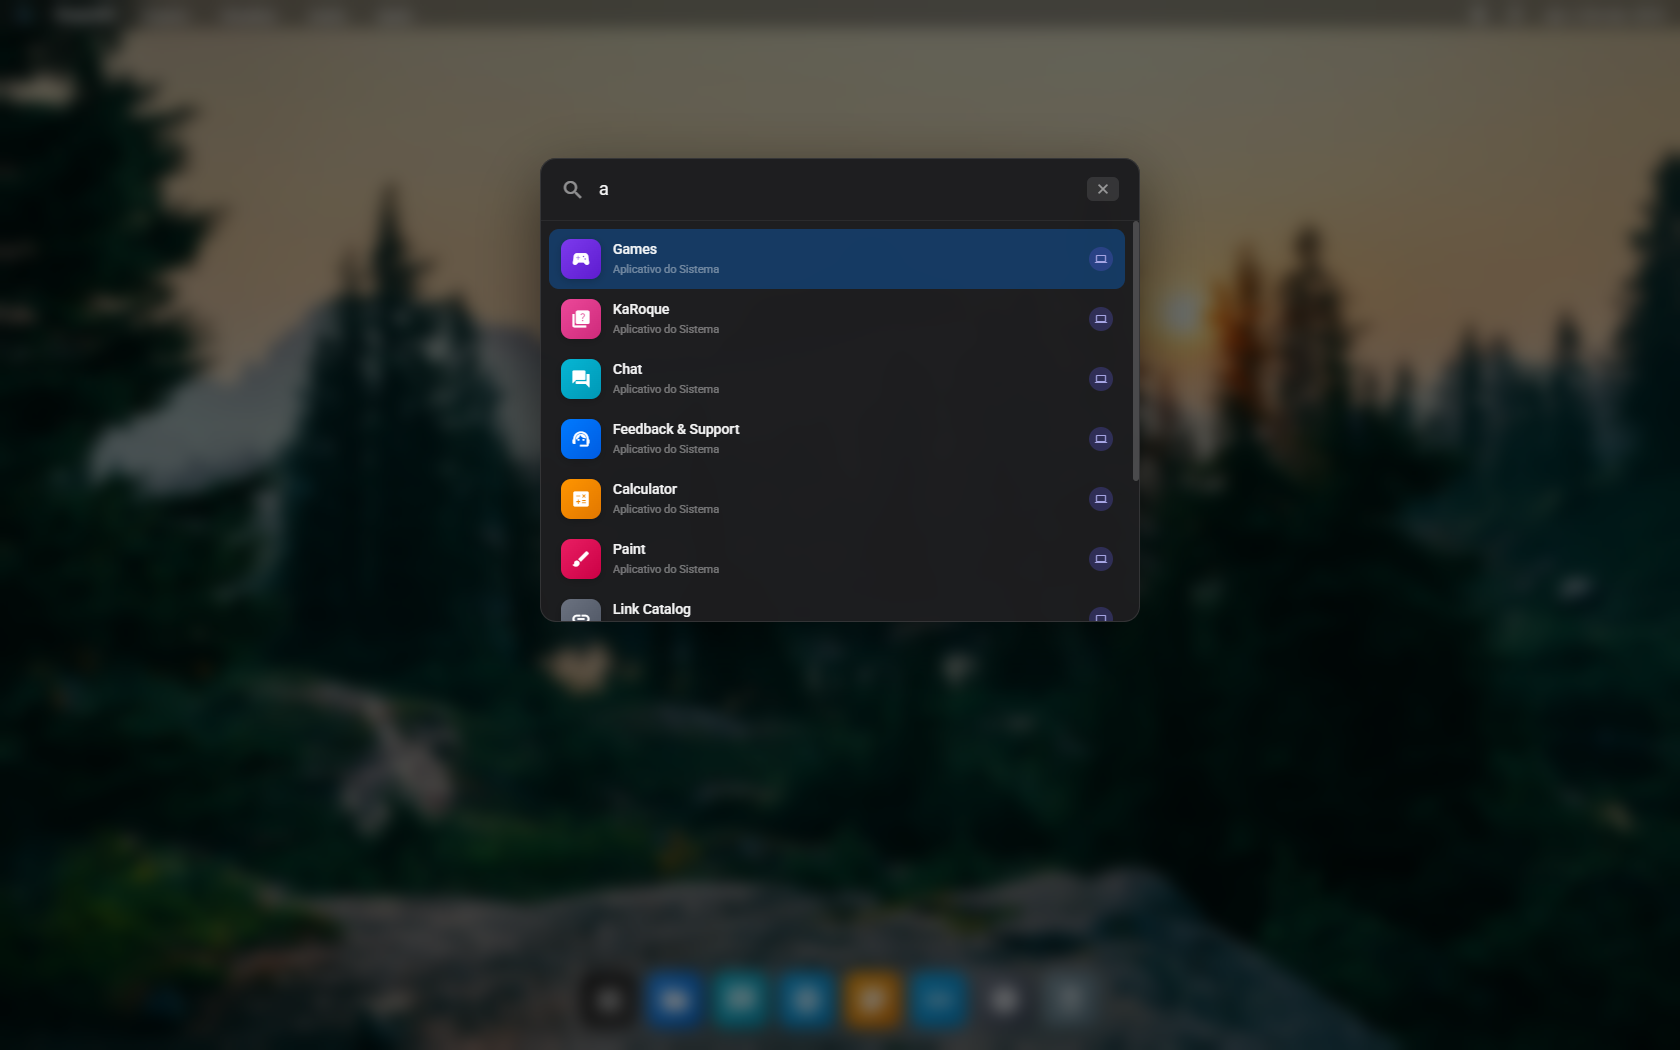
- Launchpad — Grade de todos os aplicativos disponíveis
- Spotlight — Busca rápida (atalho no topo da tela)
Apps Incluídos
O RoqueOS vem com 68 aplicativos integrados organizados por categoria:
| Categoria | Apps |
|---|---|
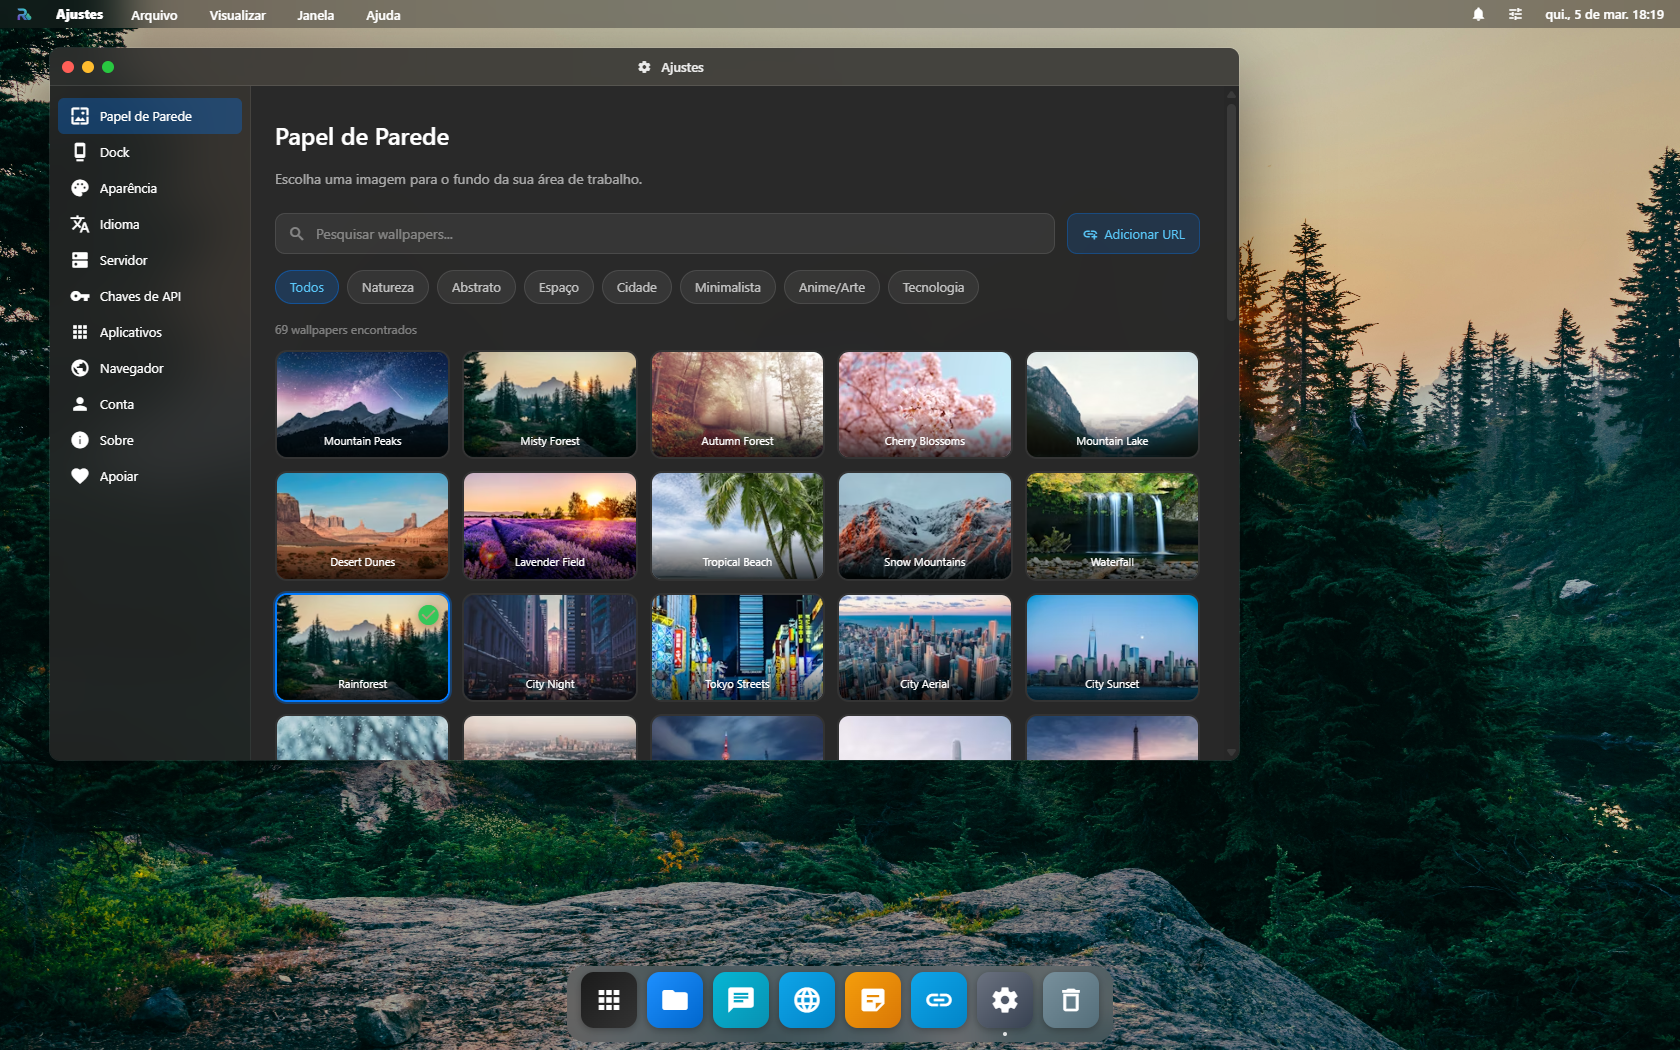
| Sistema | Gerenciador de Arquivos, Configurações, Link Catalog |
| Mídia | Music Player, Video Player, Camera, Audio Recorder, Image Viewer, Screen Capture |
| Produtividade | Chat IA, Sticky Notes, Calculator, Text Editor, PDF Viewer, QR Code, Google Apps |
| Desenvolvimento | VS Code, Terminal Linux, Containers Docker, Roque Code, Roqueman |
| Servidor | Navegador Remoto, Remote Desktop |
| Entretenimento | Games, NEXO, VOLT, UNDA, EKO, LUMEN, NOVA, SkyStack e mais |
| IA | RoqueClaw (Agente IA) |
👉 Veja a documentação completa dos aplicativos para guias detalhados de cada um.
Conectar ao Servidor (Modo Self-Hosted)
Quer desbloquear o potencial completo — terminal Linux real, VS Code com extensões, 155+ apps Docker prontos, navegador remoto, RoqueClaw agente IA?
🚀 Quer testar Server Mode SEM instalar nada?
Faça login em /app, abra Settings → Server e selecione o servidor DEMO já pré-configurado. É um servidor público compartilhado pra você explorar Terminal, VS Code, Containers, App Store Docker. Bom pra decidir se vale a pena instalar o seu próprio.
Limites do demo: dados resetam a cada ~24h, compartilhado entre todos os visitantes. Pra uso real, instale o seu próprio (instruções abaixo).
Passo 1: Subir o servidor
Linux / macOS (one-liner):
curl -fsSL https://roqueos.com.br/install.sh | bashWindows (PowerShell):
irm https://roqueos.com.br/install.ps1 | iexEm ~2 min o roqueos-server está rodando em http://localhost:27021. Detalhes: Instalador Linux/macOS ou Windows.
☁️ Prefere não administrar servidor?
O RoqueOS Cloud é a versão managed — a gente cuida da infra, snapshots automáticos, suporte. Planos a partir de R$ 59/mês. Servidor provisionado em ~3 min depois do checkout.
Passo 2: Conectar via Wizard
No RoqueOS (/app):
- Settings → Server → Adicionar servidor (botão "+" no topo)
- Cole a URL do servidor (
http://localhost:27021se for local, ouhttps://seu-tunnel.com.brse for público) - Wizard detecta automaticamente se o servidor precisa de setup ou já está configurado
- Servidor zerado: wizard cria a primeira admin key pra você — copia e cola no 1Password
- Servidor já configurado: cole apiKey + apiSecret existentes
- Dá um nome amigável (ex: "Casa", "VPS Hetzner") → Conectar
Detalhes do fluxo completo: Add Server Wizard — incluindo aviso importante sobre HTTP vs HTTPS.
Passo 3: Aproveitar
Após conexão, Terminal, VS Code, App Store Docker, Remote Browser, Remote Desktop, RoqueClaw aparecem no Launchpad. Tudo "plug and play".
Próximos Passos
- Instalador Linux/macOS — One-liner com
--update,--with-roqueclaw, etc. - Instalador Windows — PowerShell equivalent
- App Store Docker — 155+ apps prontos pra 1 clique
- Agente de IA RoqueClaw — instala containers via linguagem natural
- Cloud (managed) — se preferir não administrar servidor