🌐 このページはまだ日本語に翻訳されていません。ポルトガル語(BR)の参照を表示しています。翻訳に協力する。
Gerenciador de Arquivos
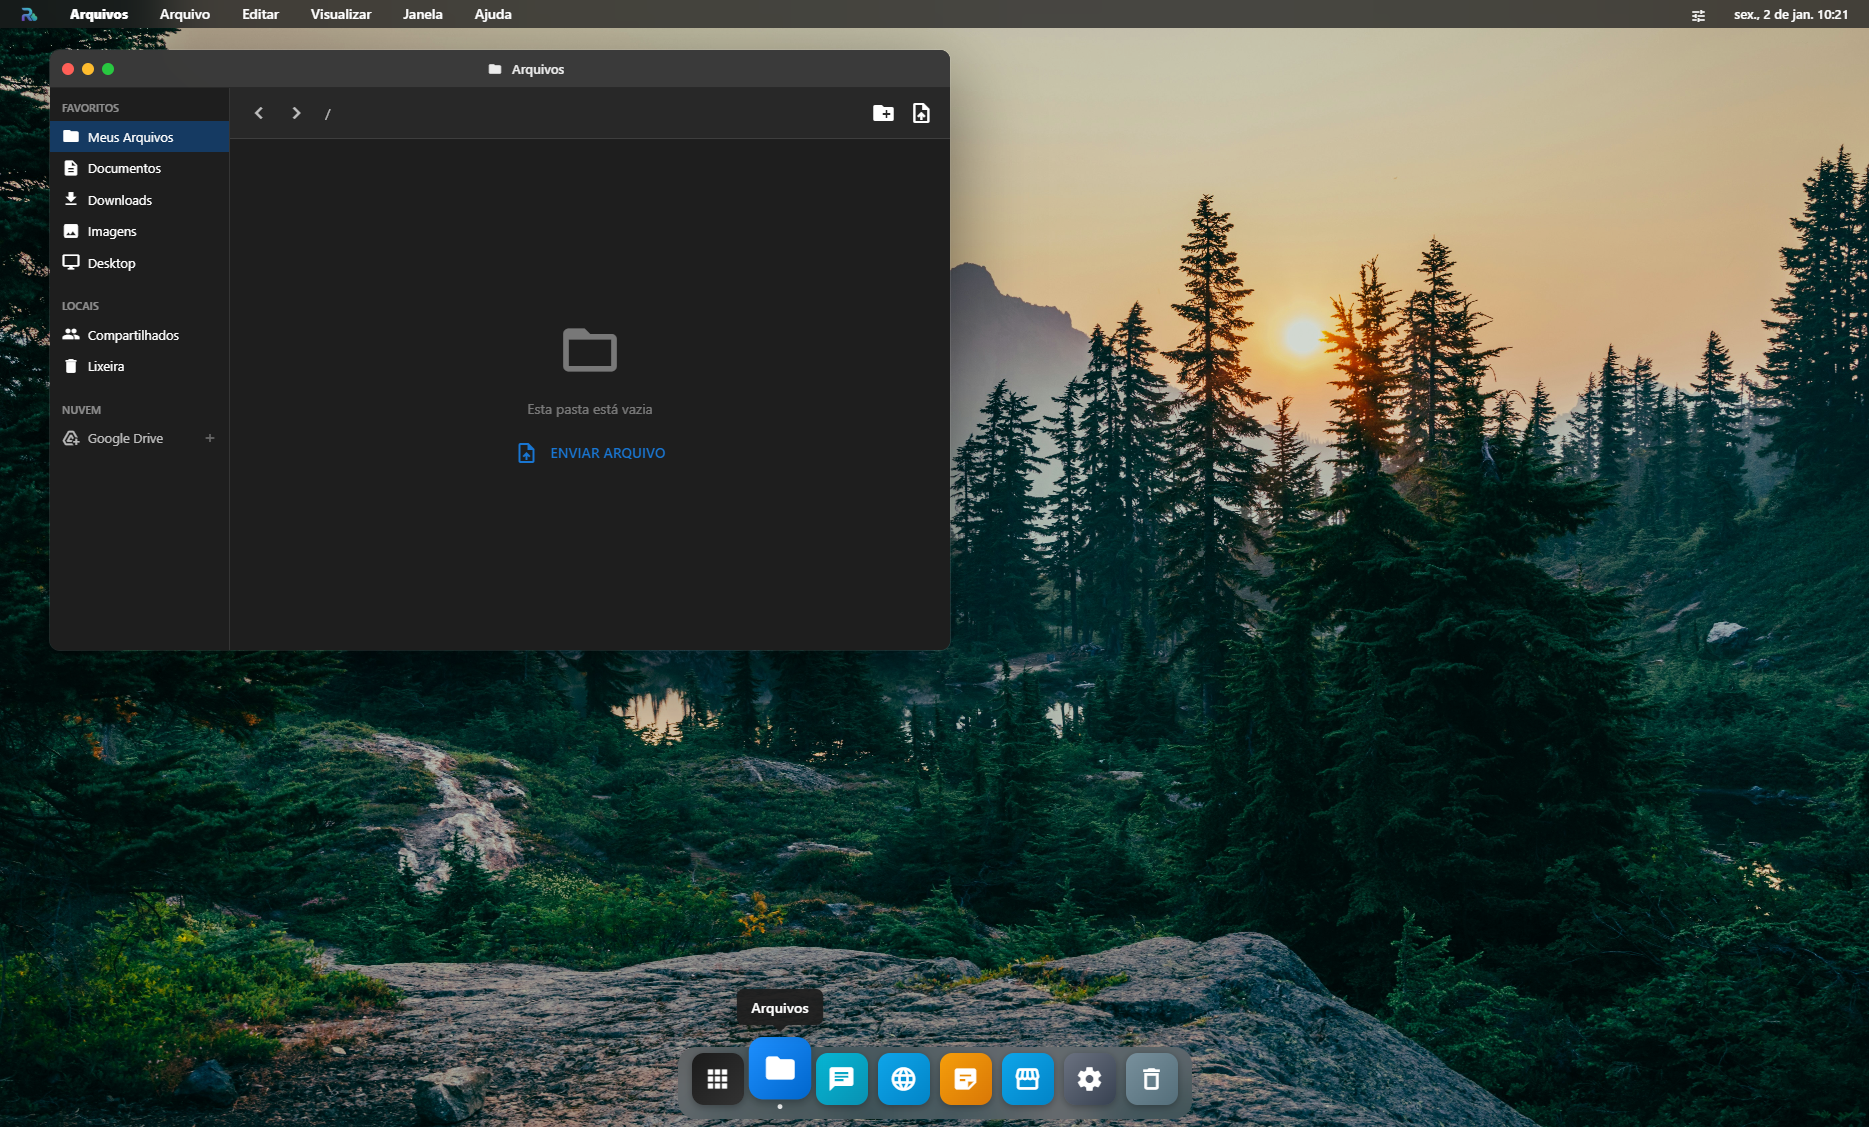
O Gerenciador de Arquivos (Finder) é o coração do sistema de arquivos do RoqueOS. Ele permite navegar, organizar e gerenciar seus arquivos em múltiplas fontes de armazenamento — desde o armazenamento local em nuvem (Firebase) até discos físicos do seu servidor mapeados via Docker.
Fontes de Armazenamento
O Finder trabalha com três tipos de armazenamento, dependendo da sua configuração:
☁️ Armazenamento em Nuvem (Padrão)
Disponível para todos os usuários, sem necessidade de servidor. Seus arquivos ficam salvos de forma segura no Firebase Storage, vinculados à sua conta.
- Capacidade: Definida pela sua cota de armazenamento
- Sincronização: Automática entre todos os dispositivos logados
- Acesso: De qualquer lugar com internet
💾 Discos do Servidor Servidor
Ao conectar um RoqueOS Server, você pode mapear pastas reais do seu computador ou servidor host para dentro do Finder. Elas aparecem como discos virtuais no painel lateral esquerdo.
Para configurar discos, veja o guia de Volumes (Discos).
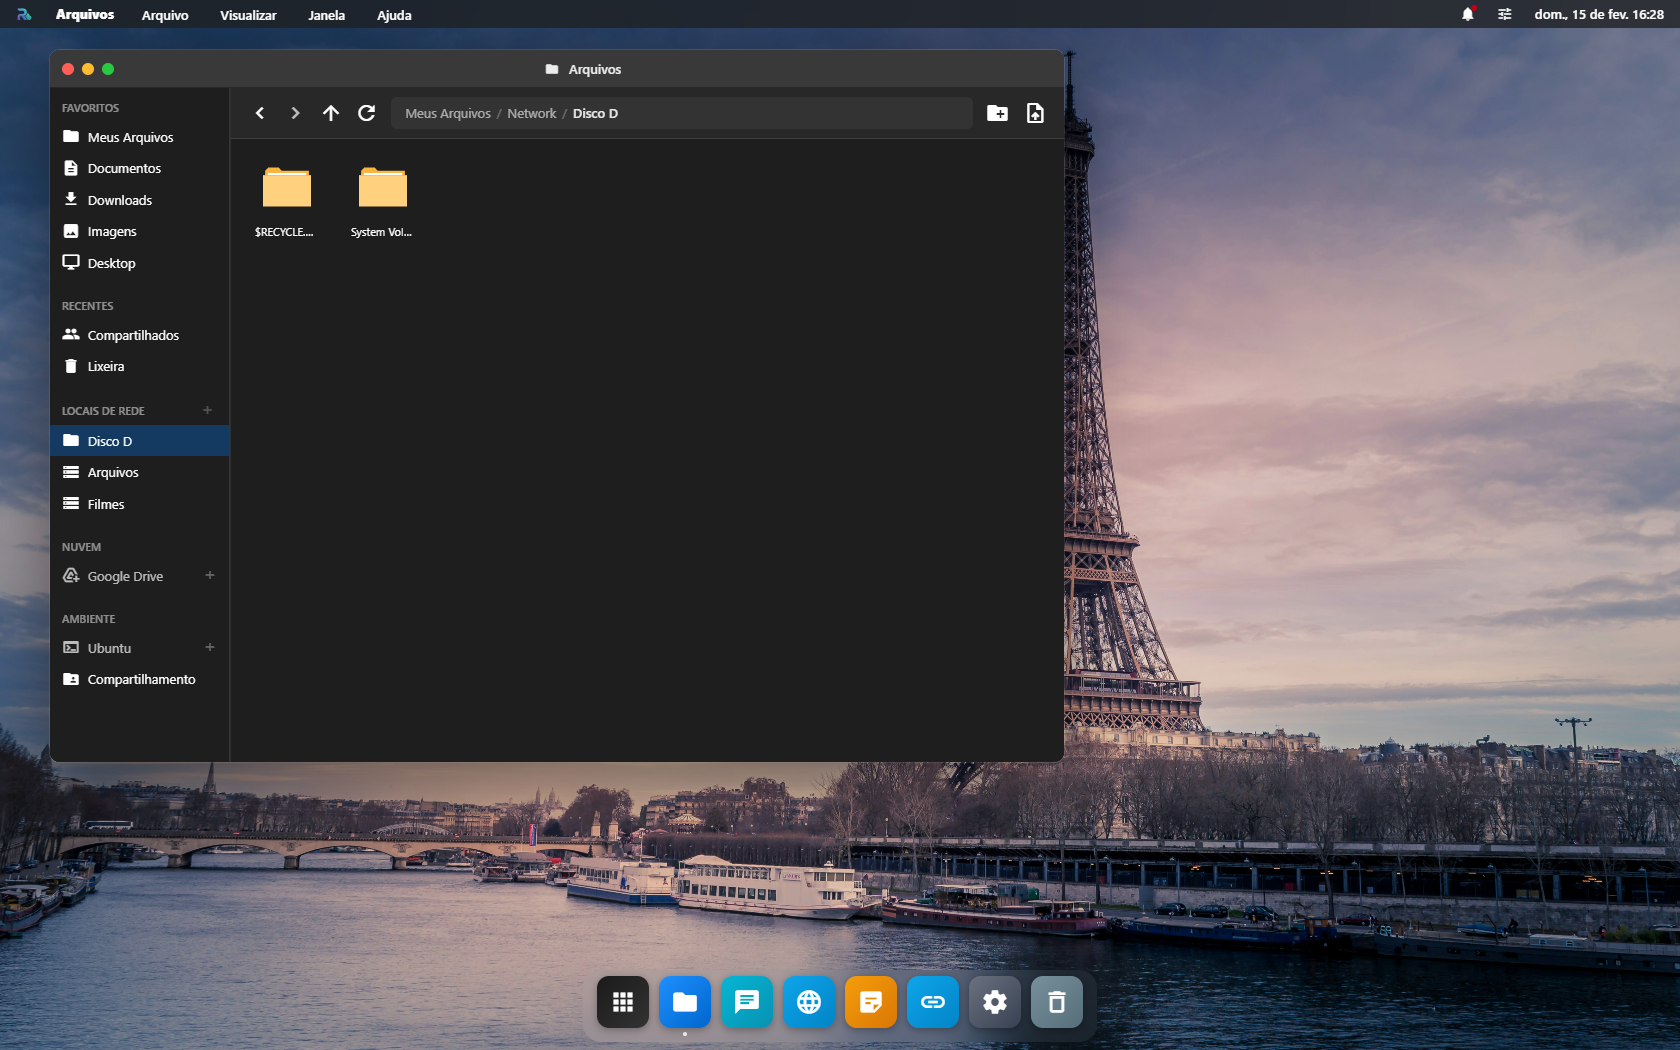
🌐 Armazenamento de Rede (SMB/NFS) Servidor
Acesse compartilhamentos de rede da sua rede local (NAS, Samba shares, NFS) diretamente no Finder. Ideal para acessar HDs de rede, NAS Synology/QNAP e pastas compartilhadas do Windows.
Navegação
Painel Lateral
O painel esquerdo mostra todas as suas fontes de armazenamento:
- Armazenamento — Pasta raiz do armazenamento em nuvem
- Discos — Volumes mapeados do servidor (ex:
Filmes,Downloads,Projetos) - Rede — Compartilhamentos de rede conectados
Barra de Caminho
No topo da janela, a barra de caminho (breadcrumb) mostra onde você está e permite navegar rapidamente para pastas pai.
Modos de Visualização
Alterne entre dois modos de visualização:
- 📋 Lista — Visualização detalhada com nome, tamanho, tipo e data de modificação
- 📦 Grade — Visualização com ícones grandes e previews de imagens
Menu de Contexto
Clique com o botão direito (ou toque longo no celular) em qualquer arquivo ou pasta para acessar o menu de contexto completo:
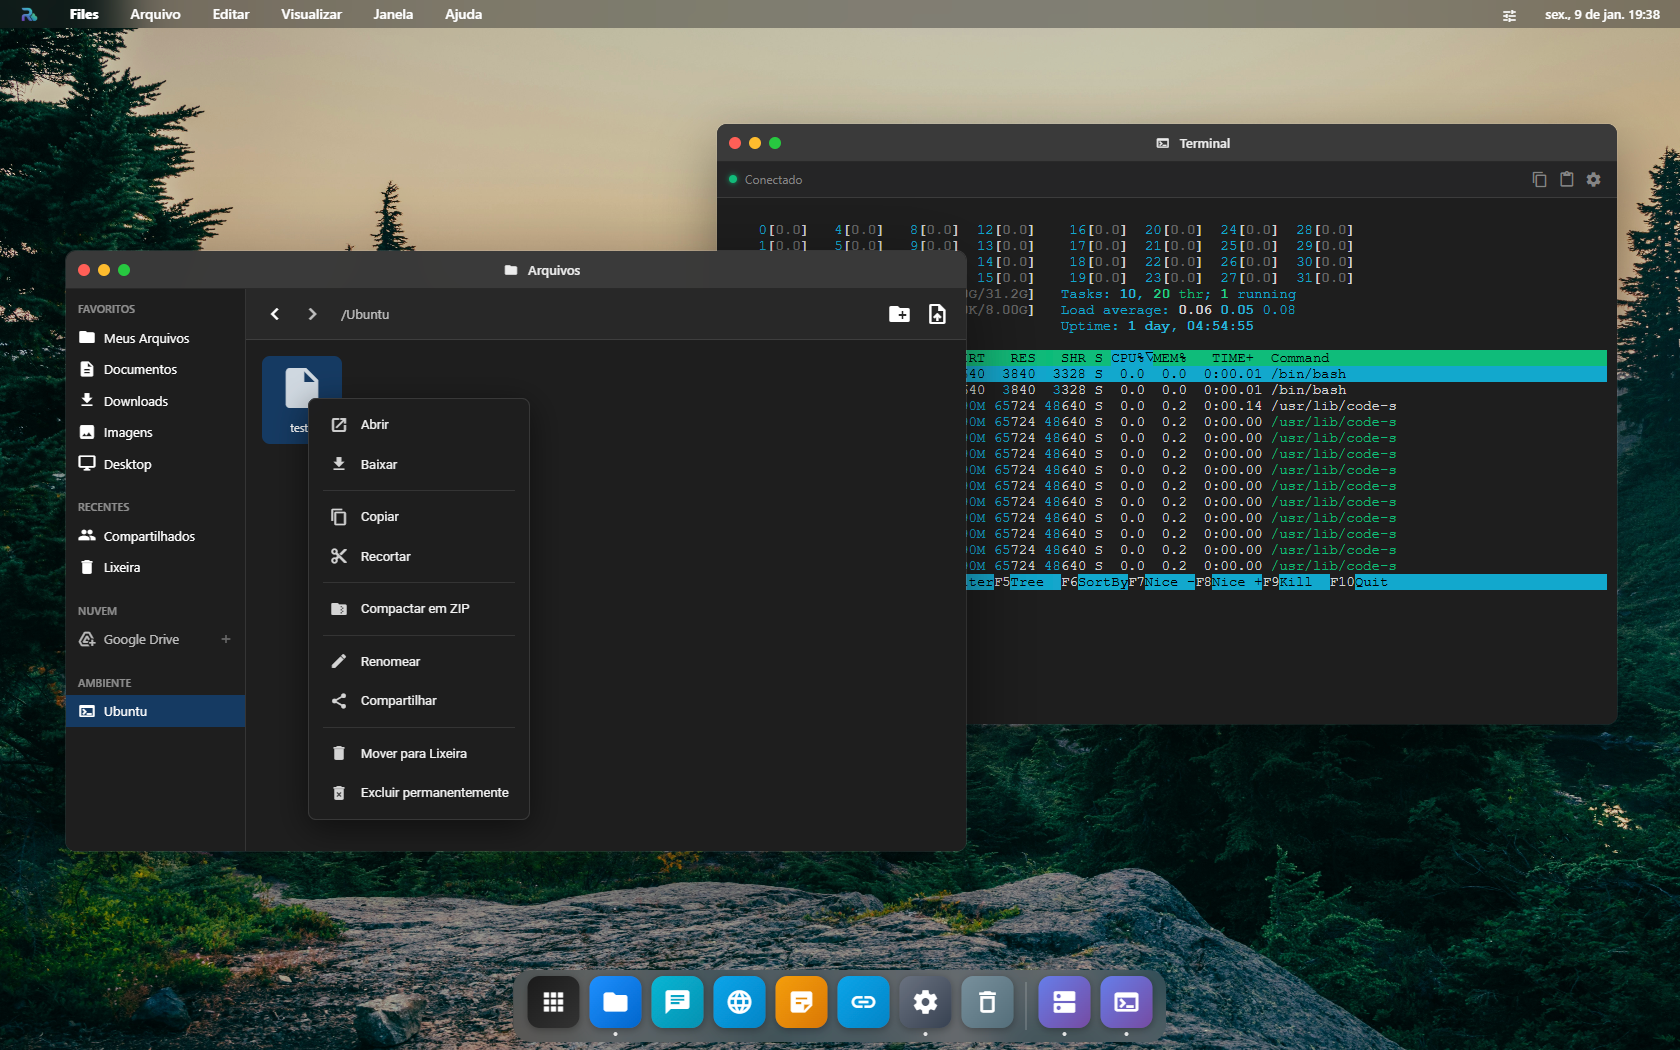
Ações Disponíveis
| Ação | Descrição |
|---|---|
| Abrir | Abre o arquivo com o aplicativo adequado |
| Abrir com... | Escolha qual aplicativo usar para abrir o arquivo |
| Renomear | Altere o nome do arquivo ou pasta |
| Copiar | Copie para a área de transferência |
| Mover | Mova para outra localização |
| Deletar | Envie para a lixeira |
| Download | Baixe o arquivo para o seu dispositivo |
| Compactar | Crie um arquivo ZIP com os itens selecionados |
| Informações | Veja detalhes como tamanho, tipo e datas |
Upload de Arquivos
Existem várias formas de enviar arquivos para o Finder:
Arrastar e Soltar (Drag & Drop)
Arraste arquivos do seu computador diretamente para a janela do Finder. Uma zona de drop aparecerá indicando onde o arquivo será salvo.
Botão de Upload
Clique no botão ⬆️ Upload na barra de ferramentas para selecionar arquivos do seu dispositivo.
Criar Nova Pasta
Clique no botão 📁+ ou use o menu de contexto para criar novas pastas e organizar seus arquivos.
▶️ Baixar do YouTube na pasta atual Servidor
Dentro de uma pasta do disco do servidor (/shared/...) ou de um armazenamento de rede (NAS), aparece o botão "Baixar do YouTube" na barra de ferramentas. Cole o link, escolha áudio (MP3) ou vídeo (MP4), e o arquivo é baixado no servidor direto na pasta onde você está — a listagem atualiza sozinha.
- Só aparece quando o servidor conectado tem a extração de mídia ativada (
ENABLE_MEDIA_EXTRACT=true) e a pasta é do servidor/NAS (não funciona em Nuvem/Google Drive — o download roda no servidor). - Opt-in: quem liga a flag assume os Termos de Uso do YouTube.
Compartilhamento de arquivos
O Finder tem 2 modos de compartilhar:
🤝 P2P com outro usuário do RoqueOS
Pra mandar arquivo pra um amigo que tem conta:
- Right-click no arquivo → Compartilhar
- Modal abre, busca por nome/email do amigo
- Click "Enviar" — arquivo aparece pro amigo em Compartilhados no Finder dele
- Você pode revogar a qualquer momento
Não duplica o arquivo (só dá permissão de leitura). Se você apagar, some pro amigo também.
🌐 Link público com qualquer um
Pra mandar pra alguém SEM conta RoqueOS (cliente, fornecedor, etc.):
- Right-click → Obter link compartilhável
- Escolhe expiração: 1 dia / 7 dias / 30 dias / nunca
- Click "Gerar" — URL tipo
https://roqueos.com.br/s/abc123é copiada - Mande por email/WhatsApp — destinatário abre direto no navegador, sem login
Funciona pra qualquer tipo:
- 🖼️ Imagem: preview inline no link
- 🎬 Vídeo: player nativo no link
- 🎵 Áudio: player nativo
- 📄 PDF: viewer inline
- 📁 Pasta: navegação completa (snapshot da árvore no momento da criação)
Aba "Compartilhados" no Finder
Pasta especial Compartilhados sempre visível na sidebar:
- 📥 Recebidos: arquivos que outros compartilharam com você (P2P)
- 🔗 Meus links: lista todos os links públicos que você gerou — copia URL, vê quantos cliques, revoga
Stats de uso dos links
Cada link mostra:
- 👁️ Views (visitas únicas)
- ⬇️ Downloads (downloads efetivos)
- 🕰️ Último acesso (timestamp)
Dedup por sessionStorage no navegador do visitante — abrir o link 10x no mesmo browser conta como 1 view.
Integração com Outros Apps
O Finder identifica automaticamente o tipo de cada arquivo e abre com o aplicativo correto:
| Tipo de Arquivo | App que Abre |
|---|---|
.jpg, .png, .gif, .webp, .svg | Image Viewer |
.mp3, .wav, .ogg, .flac | Music Player |
.mp4, .webm, .mkv | Video Player |
.pdf | Roque PDF |
.txt, .log, .csv | Text Editor |
.js, .py, .html, .css, .json | Roque Code |
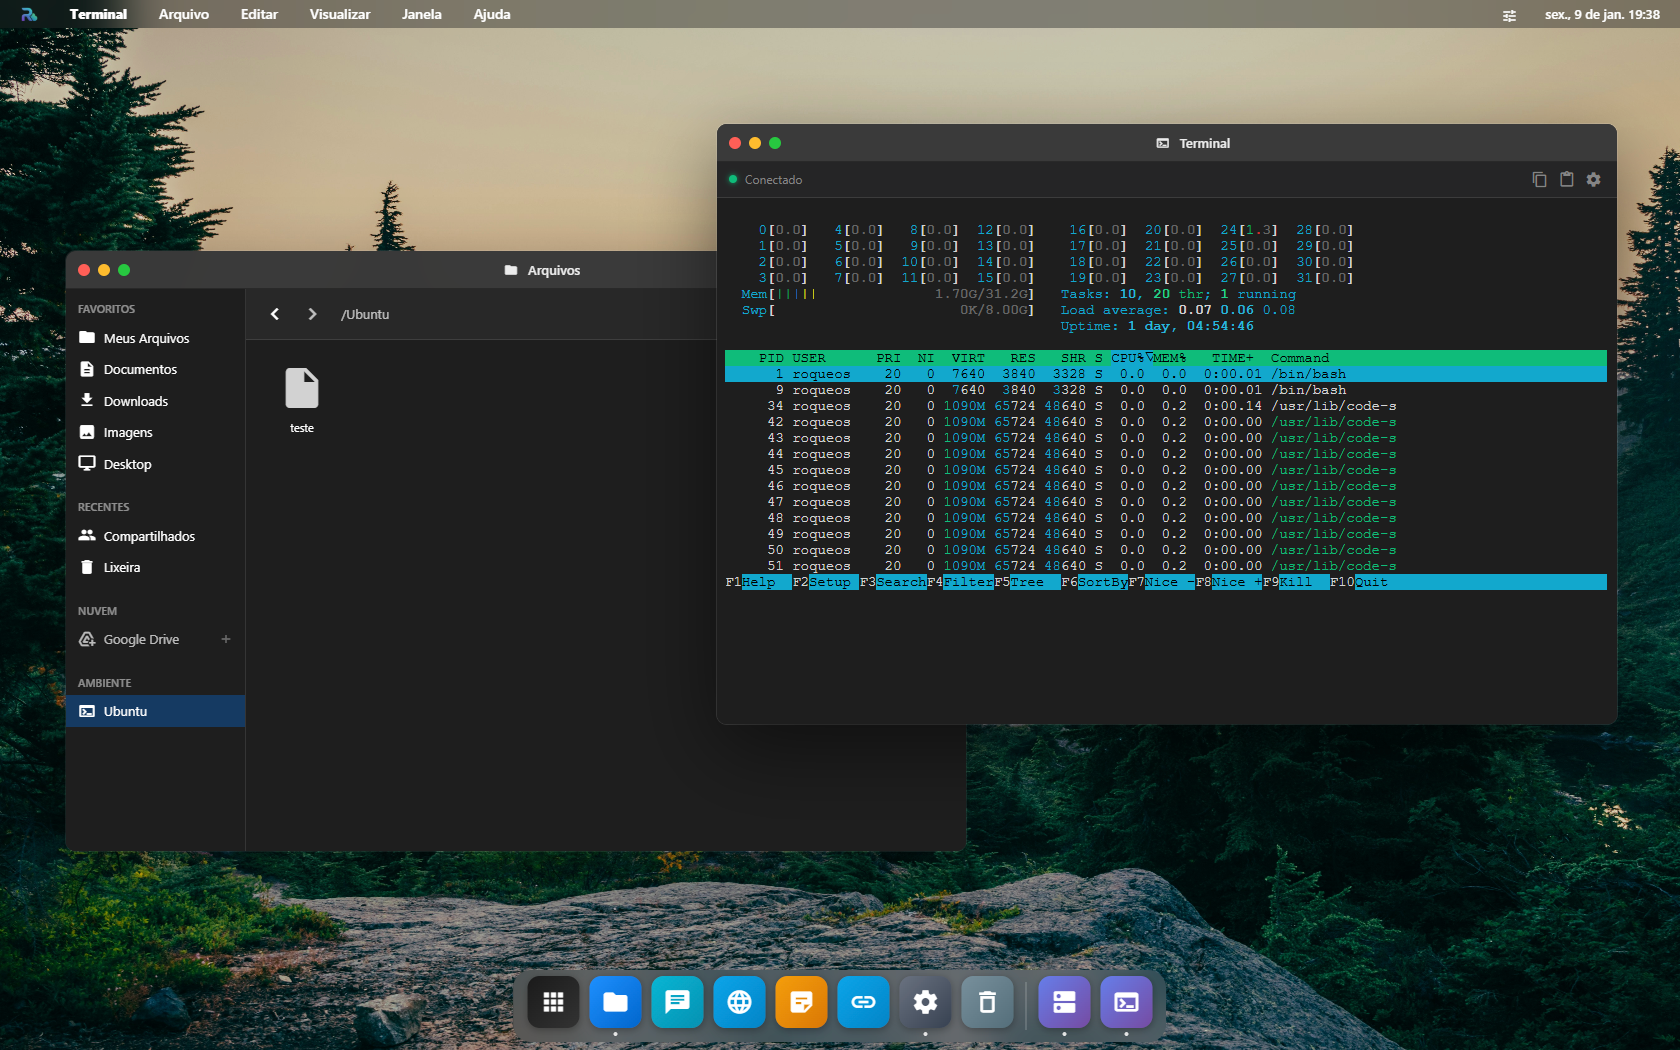
Integração com VS Code Servidor
Quando conectado ao servidor, os mesmos arquivos que você vê no Finder também estão acessíveis no VS Code integrado. Isso significa que você pode:
- Navegar e organizar arquivos no Finder
- Abrir e editar código no VS Code
- Ambos trabalham sobre o mesmo filesystem do container Ubuntu
Funcionalidades no Celular
No mobile, o Finder se adapta com:
- Toque longo para abrir o menu de contexto (substitui o clique direito)
- Layout responsivo que se ajusta à tela do dispositivo
- Gestos de navegação — deslize para voltar à pasta anterior
- Seleção múltipla — toque e segure para selecionar vários arquivos
Dicas & Atalhos
DICAS RÁPIDAS
- Duplo clique em uma pasta para entrar nela
- Duplo clique em um arquivo para abrir com o app padrão
- Use a barra de busca para encontrar arquivos rapidamente
- Arraste arquivos entre pastas para movê-los
- Selecione múltiplos arquivos segurando
Ctrl(ouCmdno Mac)